CLASS 1: GROUND BULLET HITS: CREATING A GOOD SOURCE
This class begins with an introduction to the project, which involves an overview of the car chase sequence and all the elements that will be added as well as the folder structure. After, it will cover the use of preroll and optimizing the playback in the viewport by extracting the animation at object level and caching it. The last part of this lesson will go over the importance of creating a good source, so it will go over having variation in the location, amount, velocity and emission. All these concepts will be explained by creating the source for the bullets hitting the ground.
CLASS 2: GROUND BULLET HITS: THE IMPORTANCE OF VELOCITY
Picking up from the previous class, this lesson will cover the fundamentals of particles and how the POP solver works and how different attributes can control the simulation. It will then go over the basics of colliders for the POP solver and continue with the bullet hits effect by going over the concept of vectors and their direction and magnitude and how that is useful in adding velocity to the source.
CLASS 3: GROUND BULLET HITS: ADDING VARIATION TO THE SIM
Before finishing the bullet hits effect, this lesson will cover more techniques to add variation on a per particle basis on attributes such as mass, friction and bounce. After that it will cover the basics of orientation and angular velocity and how to make the particles spin and also stop spinning when they are on the ground. The very last thing missing will be to copy geometry onto the points.
CLASS 4: GROUND BULLET HITS: REUSING THE SETUP
After having finished working on the second shot, this class will go over reusing the same bullet hit effect in the other two shots. Since the setup is procedural, only a few parameters will have to be tweaked to get it to work. Finally, it will go over making changes to the setup to address specific notes and get the desired look in every shot.
CLASS 5: WALL BULLET HITS: EMITTING SECONDARY PARTICLES
This lesson will cover a more advanced bullet hit example where the source is animated. Starting from an animated cache of debris coming off a wall after being shot, the goal will be to learn how to use an existing cache to emit secondary particles from those debris. In the beginning the class will be about creating a source from an animated input, and the importance of the timeblend SOP. Finally it will go over how to create an impulse on the debris based on velocity, age and noise to create the secondary particles emission.
CLASS 6: WALL BULLET HITS: EXISTING VELOCITIES
Unlike the previous effect, the debris already has a velocity. This class will go over inheriting the velocity of the debris and adding variation instead of creating a completely new velocity. After, it will quickly go over the same concepts of adding variation by reusing the previous setup and have a more in-depth look at creating deforming collision geometry in SOPs as well as a more advanced method for copying unique geometry to every particle.
CLASS 7: CAR CRASH DEBRIS: ANIMATED COLLIDERS
Moving on to a more complex scenario where there are two cars crashing into each other, this class go over more sourcing techniques as well as using animated colliders. Taking advantage from some of the setups done in the previous classes, it will build on top of that and go over more advanced workflows, such as instancing already existing debris onto the particles being simulated.
CLASS 8: WINDOW GLASS BREAKING
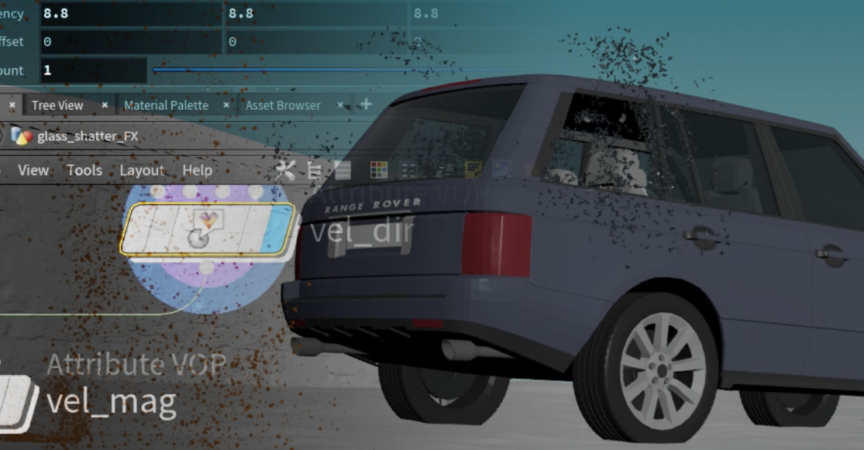
The last element missing is the car window shattering as it is shot. This is the most complicated effect because the window is attached to the car, so it has to stay in place until it breaks. This class will go over fracturing the glass and creating a particle for each glass shard. Afterwards, it will cover how to expand the bullet impact and release the points into the simulation by using a release frame which will be calculated in a SOP Solver. Finally, it will go over creating the velocity for the particles using all the previous techniques from previous lessons and adding more advanced ones on top.
CLASS 9: WINDOW GLASS BREAKING: SIMULATING IN PLACE
This class will go over the disadvantages of simulating the glass breaking using the transformation of the car, and instead, look at a different approach where the effect is done from a static position and then the animation is reapplied after the simulation. It will cover how to reapply transformations to timeshifted geometry and also how to transform the glass pieces based on the result of the simulation. Finally, it will go over using the area of the glass pieces in the mass variation and begin to introduce the next and final step of the effect and do some preparations for the next class inside DOPs using POP groups.
CLASS 10: WINDOW GLASS BREAKING: SETTLING GLASS PIECES
The last lesson covers the second simulation that will make the glass pieces settle correctly, and further explain what are the advantages of this workflow. After tweaking the last few things, the glass breaking setup will finally be done and it will be reapplied at the end of the shot when the 2 cars crash. This last part will cover a more simple setup that will use the inherited velocity and just requires 1 simulation since the window is moving a lot less and is further away from the camera. In the end, the whole sequence with all the final effects will be done.



 Channel