Armor Modeling by flycat
Release date:2020, September
Author:flycat
Skill level:Beginner
Language:No Sound
Exercise files:Yes
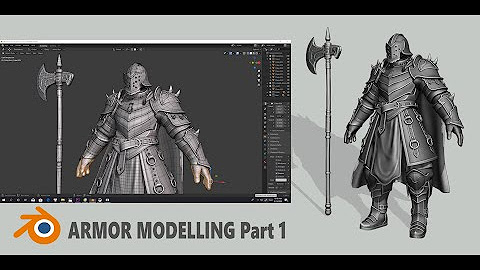
In this Blender tutorial, we will walk through the process of creating a realistic warrior’s armor using Blender 2.83 to 2.9. From conceptualization to finalization, we will cover all the essential steps to model a high-quality armor suitable for a fierce warrior character.
Starting with basic shapes, we will gradually refine and sculpt the armor pieces, adding intricate details such as creases, engravings, and embossments. We will utilize Blender’s powerful modeling tools, including extrusions, bevels, and modifiers, to create complex geometry that brings the armor to life.
Along the way, we will also explore various techniques for creating realistic materials and textures, including metal, leather, and fabric, using Blender’s shading nodes and texture painting features. We will pay close attention to lighting and rendering, ensuring that the armor looks stunning in the final render.
Whether you are a beginner or an experienced Blender user, this tutorial will provide you with valuable insights and techniques for creating warrior’s armor that stands out in your 3D projects. Watch the video and unleash your creativity in Blender 2.83 to 2.9!



 Channel