CLASS 1: ROTO AND TRACKING
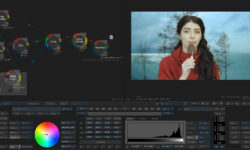
While these two topics may be considered grunt work, they are essential for making good composites. So we return to the GMask Tracer to explore it in even more detail and also look at corner pin tracking.
CLASS 2: 3D COMPOSITING INSIDE ACTION
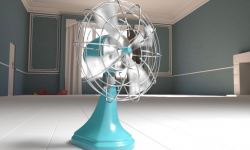
Starting from scratch, we build a small logo animation. In the process, we’ll explore how to intelligently parent different objects in Action, setup lights, animate the camera, and finish off the class with a quick examination of displacement maps.
CLASS 3: MULTI-PASS COMPOSITING AND BATCH GROUPS FROM THE TIMELINE
A node-based compositing system really shines when it is supplied with decent passes from CGI, and Flame is no exception. We take an up-close look at comping CGI in Flame, starting with a proper shader rebuild. From there, we’ll utilize both matte passes and the depth pass to further enhance our pack shot. After that, we’ll discuss a neat workflow on how to tie your Batch Groups to the Timeline of your project.
CLASS 4: INTRODUCTION TO GRADING AND MASTER GRADE
After a brief introduction of the underlying architecture of the grading environment, we explore the Master Grade tool in all its varieties and flavours.
CLASS 5: THE IMAGE TOOLSET AND THE EFFECTS TAB
Using different keyers and all-new machine learning tools, the Image Toolset is a great way to set up your secondary colour correction. Once we’re done mastering this tool inside of batch, we switch over to the Effects Tab, where we learn how to quickly navigate between different shots, tracks and timelines.
CLASS 6: WORKFLOW STRATEGIES, EXPORT AND ARCHIVING
To finish off the course, we examine how to best apply the various tools you learned to master in all the previous classes. After that, a close look at how to properly export your finished work and, of course, archive it off your system for storage and later reuse.


 Channel


telegram channel is not working.
check it! it is showing….
not available due to copyright infringement.