FLM101 – Introduction to Flame 101
Release date:2020
Duration:06 h 04 m
Author:Michael Furey
Skill level:Beginner
Language:English
Exercise files:Yes
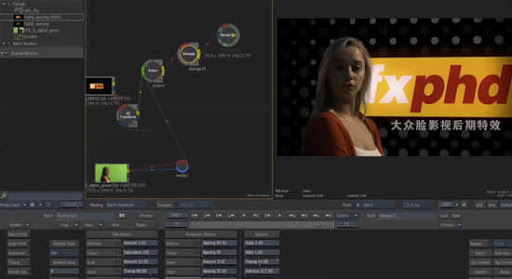
This new Flame Assist & Flare course is designed to get artists up to speed quickly and give them an inside track on the newest editions of the software before they are released to the public. You’ll learn many of the tools that editors and assistants need to know in order to do time-consuming support tasks, such as project setup, media management, advanced conform, as well as archiving and restore. You’ll also learn how to work on more complex shots that require color correction, masking, tracking, and green screen composting.
Course instructor and flame artist Michael Furey maintains an active involvement with Autodesk as a beta tester for Flame and has more than twelve years of experience as an editor and compositor. The course begins with a clear overview of each application, the differences between them and how they fit into the Flame Premium family. After that, we’ll conform a timeline and work on shots with a project-based approach to learning them. Our goal is to have course members be able to execute entry to intermediate level tasks on Flame Assist and Flare that would be expected of them at a post production facility.
CLASS 1
In this class I’ll show how to configure each app, create a user profile, explain the user preferences, start a project, discuss the user interface, and import an XML from an offline edit.
CLASS 2
I’ll show you how to conform a timeline, match it to the reference Quicktime, and rebuild some effects using timelineFX. I’ll also introduce you to working in BatchFX.
CLASS 3
In this class we will go over the desktop and how to keep it organized. We will talk about the paint tool and demonstrate how to use it for shot clean up. And we will import some graphics into our project and discuss the various ways to composite them.
CLASS 4
In this class we’ll talk about and work in BatchFX in order to create a tag page for our promo using several different compositing techniques, including Action.
CLASS 5
In this class I’ll demonstrate some color matching techniques using the Color Warper, tracking within Action, and we’ll finish the promo that we’ve been working on.
CLASS 6
In this class we will start a project in Flare and discuss the differences between the two apps. We will also do a selective color correction and sky replacement in Batch.
CLASS 7
In Flare we will use GMASKS to remove the visible camera crew from a shot. Then we will use 2 point tracking to stabilize the shot and color correct it using a LUT Editor.
CLASS 8
In this class we will work inside Flare to white balance a shot using the Color Warper, create text using the Text node, and use the Planar Tracker inside Action.
CLASS 9
Using the Modular Keyer in Action we will composite a green screen sequence. I’ll also demonstrate how to use Pixel Spread and Degrain to fine tune the composites.
CLASS 10
In this last class we will talk more about how to share media and setups between the two apps. We will also cover archiving and matchbox shaders.


 Channel


