Creating a Realistic 3D Backyard In Blenders
Release date:2017, March 16
Author:Danan Thilakanathan
Skill level:Beginner
Language:English
Exercise files:Yes
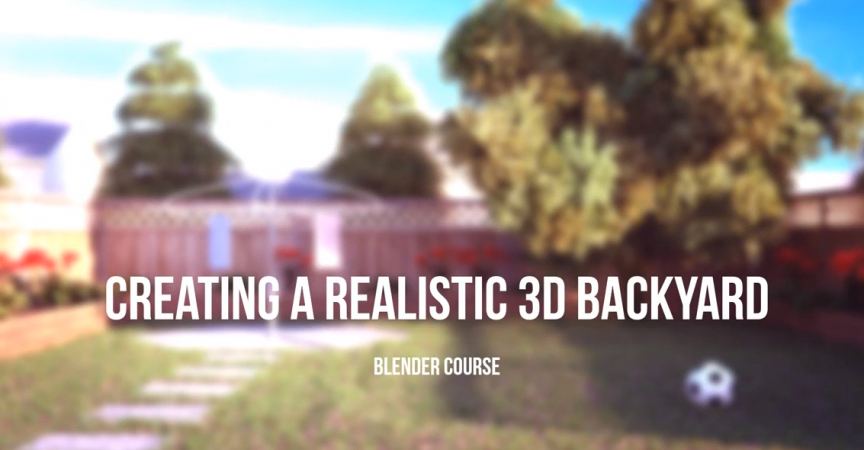
Creating realistic 3D environment renderings can be a difficult challenge for any 3D artist to pull off, especially for beginners. If you’ve ever tried creating your own 3D environment renders and wondered why your renders always end up looking a little…flat, then you’re probably missing a number of crucial steps in the modeling, texturing, lighting and rendering process.
This course aims to teach you how to create 3D environments from scratch using Blender. In this project-based course, you will get hands-on experience and create something that most of us are familiar with; backyards. Through the use of references, we will be aiming for photorealistic rendering. (Don’t worry if you don’t own a backyard, you will still be able to create awesome 3D backyard scenes.)
The course is aimed to be simple and easy to follow so if you are a beginner to Blender or even to 3D in general, you need not be overwhelmed.
What exactly will I learn?
You will start off with brainstorming ideas for your backyard scene followed by making use of references and planning your backyard scene.
You will learn the concepts needed to create realistic 3D environment renders and carry out the planning of your own backyard scene.
You will then work through and model, texture, shade and set up all the assets for your backyard one-by-one with the aim of photorealism. (this includes everything from flowers, trees, fences, grass, etc).
You will then combine all your assets in one scene and create your backyard scene.
Finally, you will bring your backyard to life by focusing on photorealistic lighting, compositing and rendering.
How will I benefit from this course?
Apart from getting the chance to show off your artwork to friends and family, there are a number of benefits to enrolling in this course.
You will gain an understanding of the process of planning a 3D environment scene which will set the foundation for a realistic 3D render.
If you are a beginner, you will significantly improve your skills in modeling 3D objects, realistic lighting as well as rendering scenes in Blender.
As this course is mostly project-based, you will get hands-on experience and thus, learn essential skills in a very short amount of time.
The course is aimed to be fun and easy to follow without much technical jargon, so you will be able to grasp the concepts easily.
PLUS You will get the BONUS Garden Asset Pack for FREE to play around with and enhance your own 3D backyards. The pack contains over 50 models that can be imported straight away into Blender and would be useful in any 3D garden scene.
What will happen after I finish this course?
By the end of this course, you will have completed your own realistic 3D backyard scene. You can expect to gain a deeper understanding of the process needed to create 3D environments and the best way to do that is by creating your own realistic 3D backyard scene from scratch.
You will gain motivation, experience and confidence to be able to pull off your own convincing 3D environment projects using the skills and techniques you learn from this course.
You will also have a series of awesome garden renderings to add to your portfolio. A portfolio is a great way to improve your chances of getting a job in the future.
In addition to that, you will also have over 50 garden models that you can make full use of in your next 3D backyard render.
Am I right for this course?
If you’re a beginner to Blender or even to the world of 3D in general and you wish to create awesome and realistic 3D environment scenes that make people say “wow”, then most definitely you are the perfect person for this course. I will walk you step-by-step everything you need to know to create a 3D backyard scene in Blender. This course may help push you to finding that dream 3D job in a shorter amount of time. Even if you’re not really a beginner, there’s tons of new content teaching new tips and tricks which may also be of benefit to you.


 Channel


