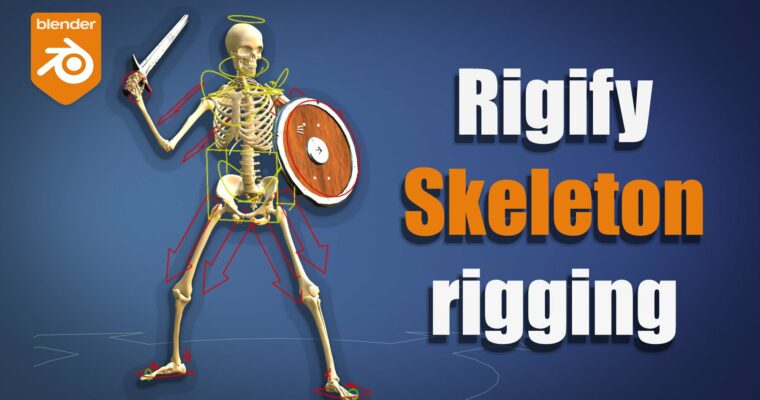
Rig A Skeleton With Blender And Rigify
Release date:2022, July 15
Skill level:Beginner
Language:English
Exercise files:Yes
Course URL:https://blendermarket.com/products/rig-a-skeleton-with-blender-and-rigify-video-course
By the end of the course, you’ll have a fully rigged skeleton model, animated using mocap and retargeting, and ready for export to a game engine if desired.
Why rigging a skeleton is difficult:
The rigging and weight painting techniques you learn in most tutorials are typically meant for “standard” characters with skin and clothing. Rigify offers amazing features such as twist bones (aided by bendy bones) out of the box. However, when applied to a skeleton, many of these techniques are not just useless but they cause more problems than they solve.
How this Course can help you:
In the course, you’ll learn:
- How to tweak the default Rigify settings and make Rigify suitable for rigging a Skeleton.
- Mastering the Rigify rig type settings will help you rig versatile characters.
- Special weight paint techniques to quickly and efficiently bind the mesh bones to the rig bones. Many bones in the skeleton need to stay solid at all times (leg bones, upper arm, cranium, etc.) while others need to bend or twist (lower arm bones, spine, ribcage, etc).
- Custom rigging techniques. You can rig almost the entire skeleton with simple Rigify building blocks. But to achieve certain advanced effects we’ll need to create custom rigs from scratch. I will show you how to create those and also, how to seamlessly integrate them with the other Rigify parts.
Example of custom toes rig integrated into Rigify.
Simple or Advanced: The choice is yours:
Whenever possible, I tried to give you a choice between simple and advanced techniques. The “simple” techniques will help you achieve good results with minimal effort. The advanced techniques will show you how to get even better results with some additional effort.
Course Structure:
PART 1: INTRO & RESOURCES:
Just saying “hi”, and introducing you to the course, resources, and ways to contact me.
PART 2: MESH PREP:
“If you fail to plan, you plan to fail”. We’ll prepare the model and organize the scene. This will make our rigging work much easier.
PART 3: METARIG:
We’ll quickly align a standard metarig to the skeleton. It will need a lot of customization down the line but it’s a start.
The next 5 parts will each focus on the rigging and weight painting of a specific section of the skeleton.
PART 4: LEGS, FEET, TOES PART 5: ARMS, HANDS, FINGERS PART 6: TORSO (PELVIS, SPINE, RIBCAGE) PART 7: CLAVICLE AND SCAPULA PART 8: HEAD, NECK, JAW
With that, the skeleton rigging is done but I have included additional chapters that you may enjoy.
PART 9: CUSTOM RIGIFY SCRIPT:
We’ll be using a new feature of Rigify (Blender 3.0+) which allows us to run a script as soon as we generate the rig. This way we can customize the rig even further and in ways that are not possible otherwise.
PART 10: CLEANUP:
An important but often neglected part of rigging: clean up your scene, and double-check that everything works!
PART 11: PROPS:
We’ll give the skeleton Props that it can hold (a shield and a sword, how original!)
PART 12: RETARGETING:
I’ll show you my workflow for retargeting using the Rokoko addon (free) to correctly transfer mocap data to the Rigify rig (including IK retargeting)
PART 13: GAME ENGINES EXPORT:
Out of the box, the Rigify rig is not meant for export to game engines. But I’ll show you a solid workflow to export a clean game rig to Unreal or Unity (or any other engine).
PART 14: CONCLUSION:
For the superstitious among you who would feel uneasy if the course had 13 chapters.



 Channel