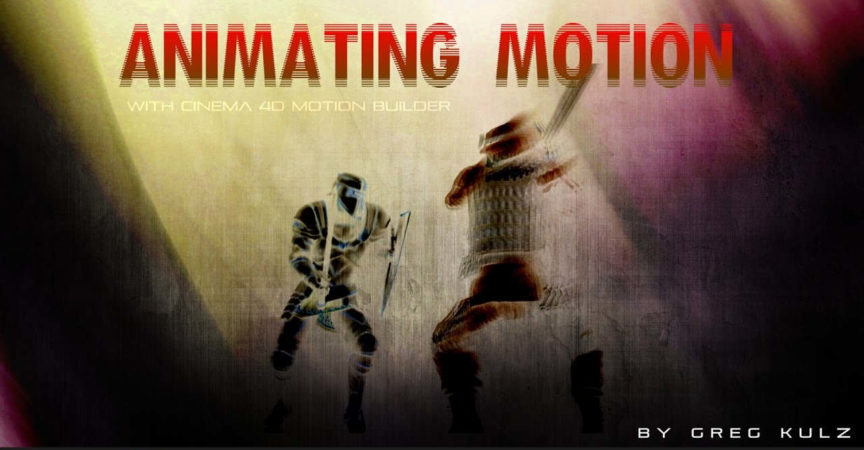
Animating Motion with Cinema4D and MotionBuilder by Greg Kulz
Release date:2018
Duration:02 h 39 m
Author:Greg Kulz
Skill level:Beginner
Language:English
Exercise files:Yes
In the ten chapters of the series, we work with the motion of aliens, knights, SWAT, and robots to swing a sword and a tail, do parkour, rage-out on boxes, and throw a punch.
The MotionBuilder training series will give you the workflow and the tools you need to make your Cinema4D characters move. The tools and concepts reviewed include story tool, characterizing skinned figures, key reduction, matching, parenting constraint, physics solver, rag-doll, synchronized motion clips, and fine-tuning the secondary movement in C4D.
Chapters:
01: Basic Workflow
We kick off the MotionBuilder training series by creating a skeleton to export into Cinema4D. First, we’ll bring the characterized model into a scene. Then, we’ll merge the motion data into the skeleton, set that to drive the model and bake the animation to the skeleton. It’s a great start to the series!
02: Story
In Chapter 2, we’re going to use the story window to create a character animation track. Using the story track allows us to compare various motion clips on our character, duplicate clips to make a looping run cycle, and blend additional clips seamlessly with the matching tool. Then, once the motion is baked to the bones, the animated figure can be exported to Cinema4D.
03: Person
In Chapter 3 of the MotionBuilder series, we’ll work with two characters using two synchronized motion clips. First, we’re going to create a control rig for our swashbuckling figure with a sword and set the hands in a realistic pose. Then we’ll merge in a second figure and create a second control rig duplicating the first figure’s sword and positioning it in the second figure’s hand. We’ll use what we went over in Chapter 2 by creating a character track for each figure. Then, we put the first part of the synchronized motion capture in one track and the second part in another track. Finally, we bake the motion to the bones of both figures and export to C4D as a single file.
04: Parkour
This is my favorite chapter of the series. We’re going to bring in two figures again and create character tracks for them. This time though, we’re going to bring in a vaulting and loop-able running clips and arrange the ghosts and time them to do some vaulting over a box.
05: Naming Joints
In Chapter 5, we’ll review some of the fundamental concepts related to naming conventions. First, we’ll use a few different skeletons and explore various joint naming conventions to enable the automatic characterization process in MotionBuilder. Then, we’ll compare a characterized mocap clip to a raw BVH file. Finally, we’ll go over preparing the BVH file to be characterized.
06: Dynamics
Have you ever wanted to make someone punch a stack of boxes? In Chapter 6, you’ll have your chance, as we apply idle and punching clips to a figure, add a physics solver to the scene, create and set up cubes with rigid body properties, enable the solver, and POW! watch our boxes come tumbling down.
07: Ragdoll Setup
Let’s keep up the story from Chapter 6 and add a new figure to the scene. We will create hurt and down poses in the pose control tab, create a second character track, add an idle clip and position to receive punch, create a ragdoll dynamic proxy rig and our unsuspecting new figure is ready to be sucker punched.
08: Ragdoll Export
In Chapter 8, we go over taking our combatants from Chapter 7 and exporting them into Cinema4D. We want to use poses to guide the dynamics and will use the solver to set that up. Our ragdoll solve becomes a clip in the story tab, then we bake the animation to the control rig and follow up by baking to bones before we export.
09: Animation Layers
A great feature of MotionBuilder is using keyframe animation to refine the mocap to compensate for things such as strange alien body shape discrepancies or uneven ground. In the animation layers tab, we’ll create a new layer and keyframe our adjustments. Then, in the filters tab, we’ll use the key reducer filter to get rid of keys we don’t need. As usual, we’ll wrap it up with baking to bones and exporting to C4D.
10: Dynamic IK
In the final Chapter of the MotionBuilder training series, we’ll follow up with what happens to all those figures we’ve been exporting into C4D, using the alien figure from Chapter 9. In C4D, we’ll create a disk and apply a collider tag to be our ground plane, then apply an IK tag to the tail and enable dynamics. We’ll finish up the chapter by fine-tuning the dynamics setting to create your custom alien tail movement.


 Channel


