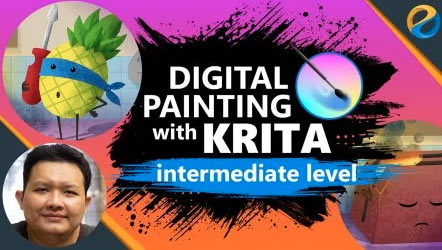
Digital Painting With Krita Intermediate Level
Release date:2019, June
Duration:04 h 10 m
Author:Widhi Muttaqien
Skill level:Intermediate
Language:English
Exercise files:Yes
Krita is a graphic application comparable to Photoshop, Gimp, CorelPainter, etc. But unlike Photoshop, Krita is an open source project. So anyone can use Krita without having to pay anything for the software license. Krita was built from the ground up as a digital painting software first in mind. That is why if you want to create drawing or illustration, Krita will me make you feel right at home.
This course is the second course in the Krita course series. It is the continuation of the basic course “Digital painting with Krita: basic level”. If you never use Krita before, then I strongly suggest that you take the basic course first before taking this one, so you can follow the lessons without any problem.
WHAT WE WILL COVER
We will cover a lot of things In this course. First we will focus on advanced selection techniques. We will learn how to modify selection. Learn about different selection operations. How to transform existing selection. Learn to create selection using contiguous tool and how to extract selection from color and from layer. Next we will cover anti-aliasing and how to use the fill tool. Then we move on to different image transformation and distortion techniques available in Krita. We will focus on how to utilize the free transform tool. How to do perspective distortion and warp distortion. Then we will cover how to do cage deformation. And then learn how to distort image using Liquify tools. After that we’re going to learn about masks in Krita. We will cover how to make use the transform mask. And then how to use the transparency mask. After that we move on to gradient feature. We’ll learn how to create different types of gradient color. And then use those colors using the gradient tool. After that we move on to tileable image creation. We will cover how to use the wrap around mode in Krita. And after that use it to create seamless repeating texture. We will also cover other techniques of tileable images, which is using clone brush and also using manual patching. Next you will learn how to use the pattern feature in Krita to create and to fill area quickly with repeating images. And finally we will cover different methods of applying filter in Krita.
THE FINAL PROJECT
After we cover all of these features, we then move on to actually use these features in an actual illustration project. Unlike before, we’re going to create a stylized illustration which is a super pineapple illustration. We’re going to start from finding the references. Then sketching out the initial idea and then keep refining it. After that we will start adding color to the illustration. Next, we will cover how to use clone layer to create dynamic symmetrical drawing. After that, we will use the tileable image technique and pattern feature to add texture to the environment. Then we will use pattern also on the pineapple’s body. Next, we will use gradient to add shadings on the environment. After that, we will cover how to create transparent texture from any image you can find on the internet. This is important because we’re going to use transparent textures to create stylized shading for most of the objects in the illustration. Basically for the pineapple. And then after that for shading the toaster. Finally we will add small line details to make the image more readable and then add some visual effects to make it looks more interesting. I know that this project has a very specific style and that you may prefer different style. But the techniques you’ll learn while doing this project is indispensable if you really want to bring your skill to the next level.
So, JOIN NOW! and start creating masterpieces with Krita! See you on the other side.



 Channel