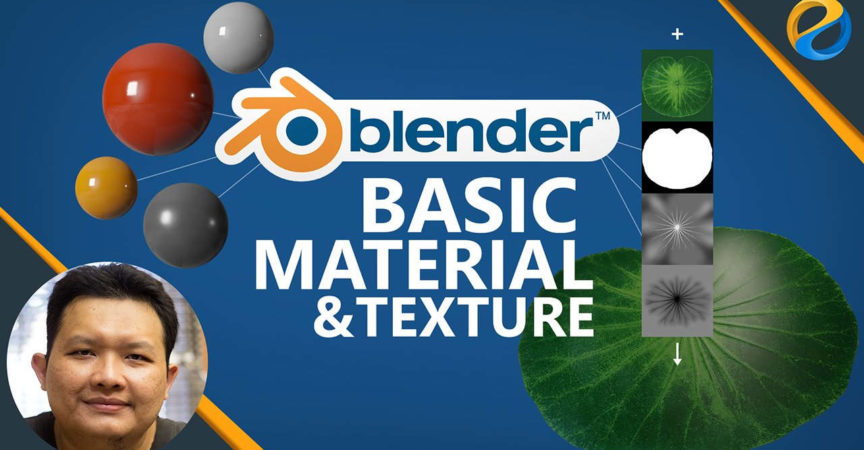
Blender basic material and texturing
Release date:2019
Duration:02 h 00 m
Author:Widhi Muttaqien
Skill level:Beginner
Language:English
Exercise files:Yes
modeling fundamentals first before taking this one.
In this course, we will start discussing about rendering engines exist in Blender and how they will affect materials. And then we’ll move on to how we can create and assign materials to 3D objects. We will cover how to assign material to multiple objects and vice versa, assign multiple materials to a single object. We will also cover the essential theories about color models and also how bit per channel data affect color depth and the under laying theory behind hexadecimal color codes. After that, we move on to textures. We’re going to discuss different types of texture. Then we focus on how we can create procedural texture in Blender. Next we’ll learn how to import and create image based textures. In Blender we can have multiple layered textures, each with its own blending modes. By combining all of these features we can create a wide variety of texture effects that you can imagine. Next we will get to know more in depth about UV image editor and then the basic introduction about PBR or physically based rendering workflow, which is the trend in texturing workflow in the computer graphic world. After all of these lessons, at the end, we will have a hands on project on creating a lotus leaf object from a single face with the help of textures. We will add color texture and alpha texture. Also an alternative method using RGBA images. Then we’ll discuss about different types of bump texturing, such as using normal map and then height map or also known as displacement map. Then finally we will continue our hands on project by adding height map to it and then specular map.
After finishing this course you will have strong foundations of how material, color and textures work in general, applicable to any 3D software. Also you will have basic practical skills on how to work with material, color and texture inside Blender. So join now and take your 3D skill to the next level!



 Channel