Arnold – Look Development and Compositing (Nick Hodgson)
Release date:2018
Author:Nicholas Hodgson
Skill level:Beginner
Language:English
Exercise files:Yes
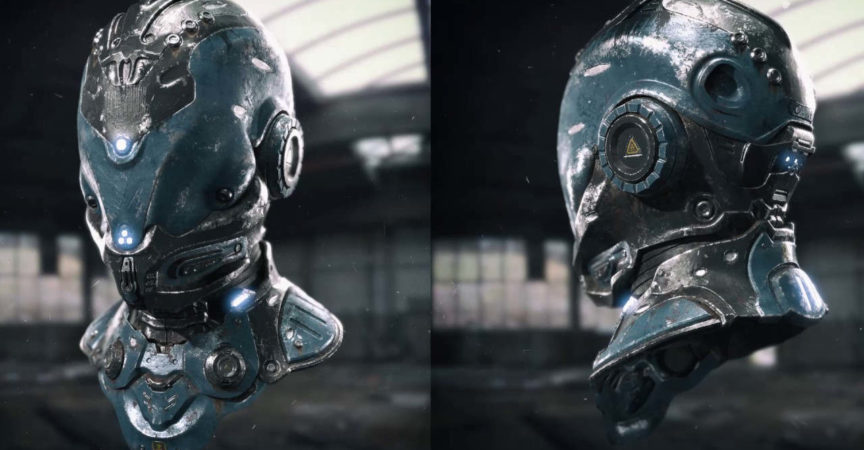
This is the continuation from the previous tutorial. It will go over the setup and look development process using the exported maps from the first tutorial: Hard Surface Texturing for Production. We will be using the Arnold rendering engine to create our shaders with alSurface. We will be touching up and tweaking our maps in Mari to refine the look and address notes that may come up in a production environment. After finishing shading we set up built in AOVs and custom AOVs. Then we will cover rendering out our image and finally how to composite your artwork to make it presentable for a portfolio piece.
Primary Topics Covered:
Setting Up a Light Rig
Complex Material networks with arnold from start to finish (going over diffuse/spec/gloss/bump/displacement networks). Creating a master shader for the entire model
More texture refinement inside of mari
Rendering/AOVs
Compositing using nuke and google nik collection.
Software required: Maya, Arnold/alSurface, Mari, Nuke, Photoshop(google nik collection)



 Channel